One of the major inconveniences of living on the North shore of the Dominican Republic is the complete lack of proper print shops.
While you probably have access to a staples or its equivalent, and you take for granted being able to print perfect double sided business cards overnight as a right, not a privilege, let me tell you, it is not so here. It’s hard for me to find access to a properly sharpened paper cutter here.
So when came time to send out wedding invitations, I chose to go DIY…. it wasn’t a choice really, it was a necessity…. On n’est jamais mieux servi que par soi-même.
I wanted an envelope with a surf-inspired liner, an invitation card, and RSVP card, and a more in-depth letter.
Here is how I went about making my surf-inspired wedding invitations.
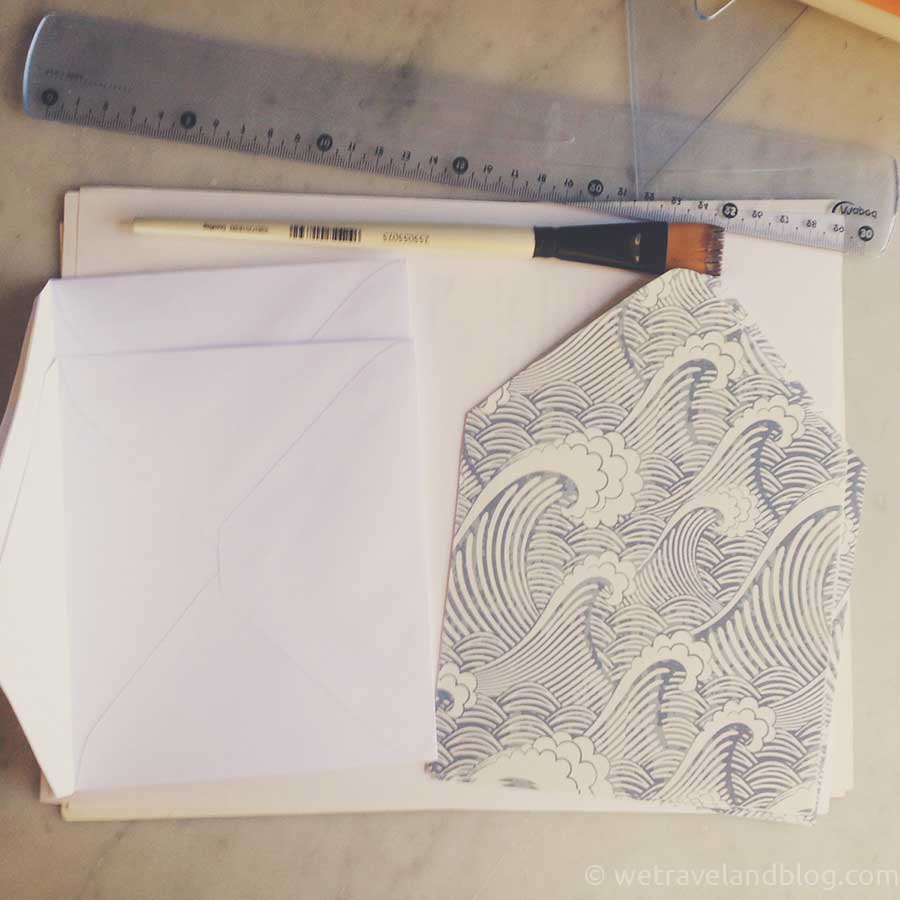
Envelopes and Liners-
I found some plain white greeting card envelopes and downloaded an envelope liner template.
I needed 30 invites. Two liners fit on an 8 1/2 x 11, so I printed my surf pattern on 15 sheets of paper.
*Remember when you print your pattern that you should print it landscape*
Don’t print it portrait because the liners fit side by side with the top and bottom on the 11″ length, and sides on the 8 1/2″ width.
I then traced the template on the backside (white side) of the pattern papers. If you lived in a regular country you could just print the pattern papers with the pattern on one side, and the template in a light grey on the back all in one go.
I then carefully cut along the line of the liner template, and voila! I now had 15 envelope liners ready to be inserted!
The inserting and glueing of the liners is actually the tricky part, and I know this is long, but bear with me here…
*Too much glue will make your envelope paper warp*
The trick to keeping your envelope paper neat and crisp is to apply a light layer of paper glue, WITH A BRUSH, along the edges of the liner only.
The most effective way to do this is to place your liner, pattern side down, on a sheet of newsprint (the cheap craft paper type stuff, not actual newspaper!)
*Newspaper ink will bleed onto your paper, keep newspaper away from your work!!*
Squeeze a light line of glue on one edge of your liner, then spread it gently with a brush. You want it to be barely wet, but evenly distributed with no holes. If you’re never done this, practice with a few blank sheets of paper first so as not to waste money.
Then turn your liner to the next edge, being careful not to get it in the glue that is now on your craft paper, place it just below that line of glue so as not to waste too much craft paper, and repeat the line/spread action, all the way around the 4 edges of the envelope, keeping the bottom edge glue-less.
*Keeping the bottom edge of your liners dry will make it easier to insert the liner into the envelope.*
Once you have gone all the way around your liner, grab your envelope with your left hand from just above the bottom corners and push gently to open the envelope mouth wide. With your right hand grab your liner by pinching it toward the peak, just below your glue line, and insert the bottom right corner in until it touches the bottom right corner of the envelope, being careful not to touch the wet glue onto the envelope yet.
Once that corner is aligned, align the bottom left corner. Now place everything on a flat, dry, and clean surface on your desk, take a plastic ruler, and press from the bottom to the top of the envelope as if you were squeezing a tube of toothpaste dry. Do this slowly and keep your aim of aligning the peak properly the whole time, making small adjustments as needed.
*Because you put only a very thin and even layer of glue on your liner, you shouldn’t get any ugly blobs of glue squeeze out. If you do, you’re putting too much glue on.*
Place another clean sheet of paper on top of your envelope and gently use the side of your hand to put pressure on all the areas with glue.
Gently push the side of your envelope together again to open the mouth again and slip something, like a small bead, inside the envelope to keep the top from glueing to the bottom. Your envelope is useless if it’s glued shut. Place it somewhere clean and with good air circulation and allow it to dry.
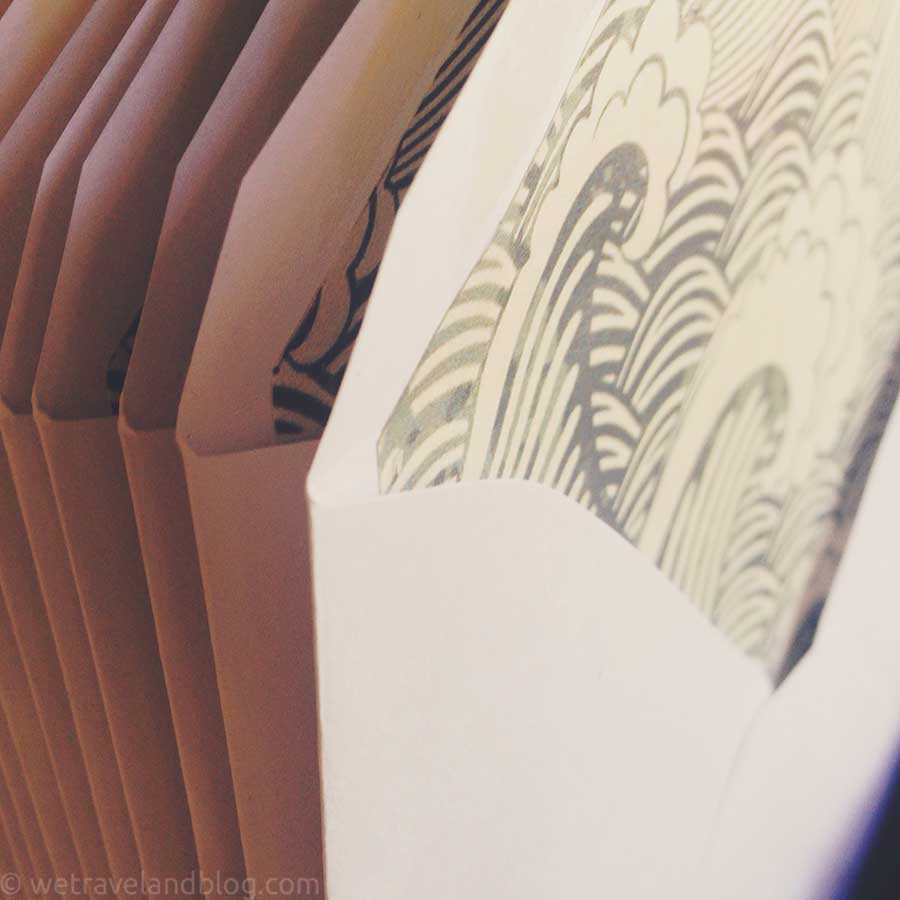
Continue to the rest of the envelopes until they’re all lined.
They should look something like this:
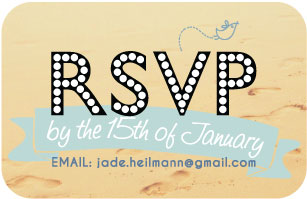
Invite and RSVP cards-
In the real world, this would be really easy:
- Design cards to fit 8 on one sheet of card-stock
- Print cards
- Use paper cutter to cleanly cut cards into rectangles
- Use rounded corner punch to cut rounded corners
- Have a margarita to celebrate.
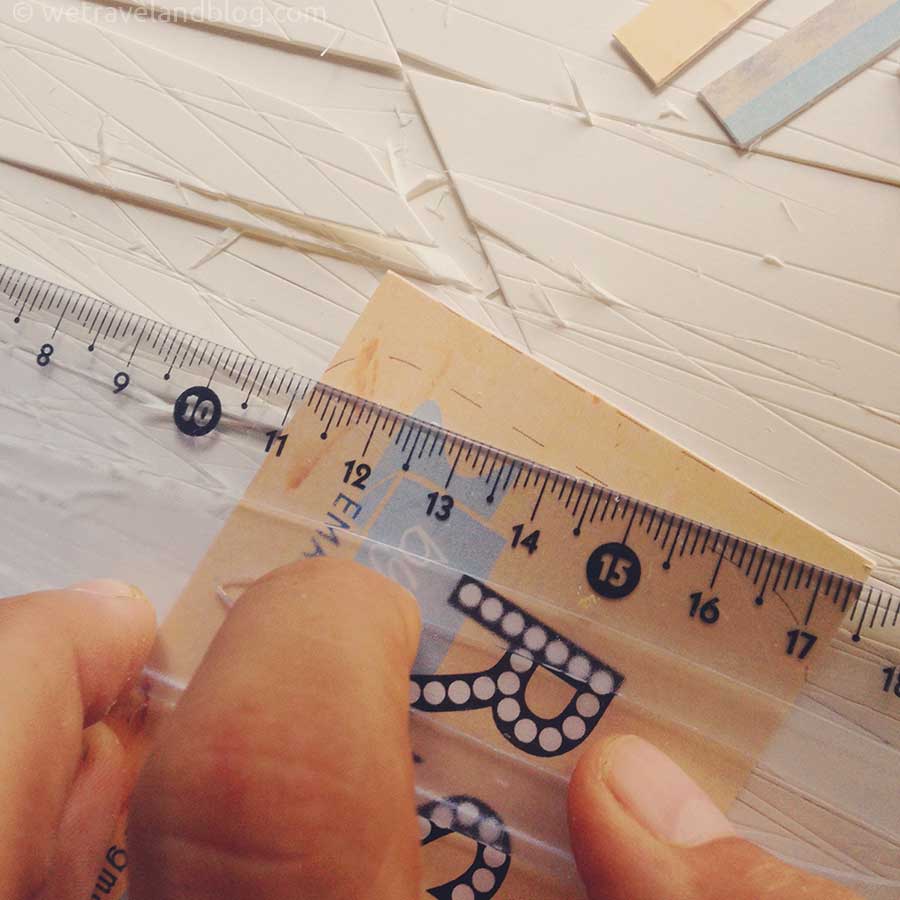
I have access to neither paper cutters, nor corner punches, so I did it the old-fashioned way…. with a ruler and X-acto knife.
Actually, it’s even more complicated than that. I couldn’t get anyone to print on card-stock, so I had to print them on regular paper, glue them on card-stock, and then slice them, but I won’t bore you with all that.
What’s really important for you to remember here is to leave a little bit of bleed around your cards, and to give yourself crop marks, in order to make the slicing easier.
Also, and especially if you’re using a corner punch, make sure you cut perfect right angles.
This part took me a really long time, but you should come out of the print shop pretty much ready to go.
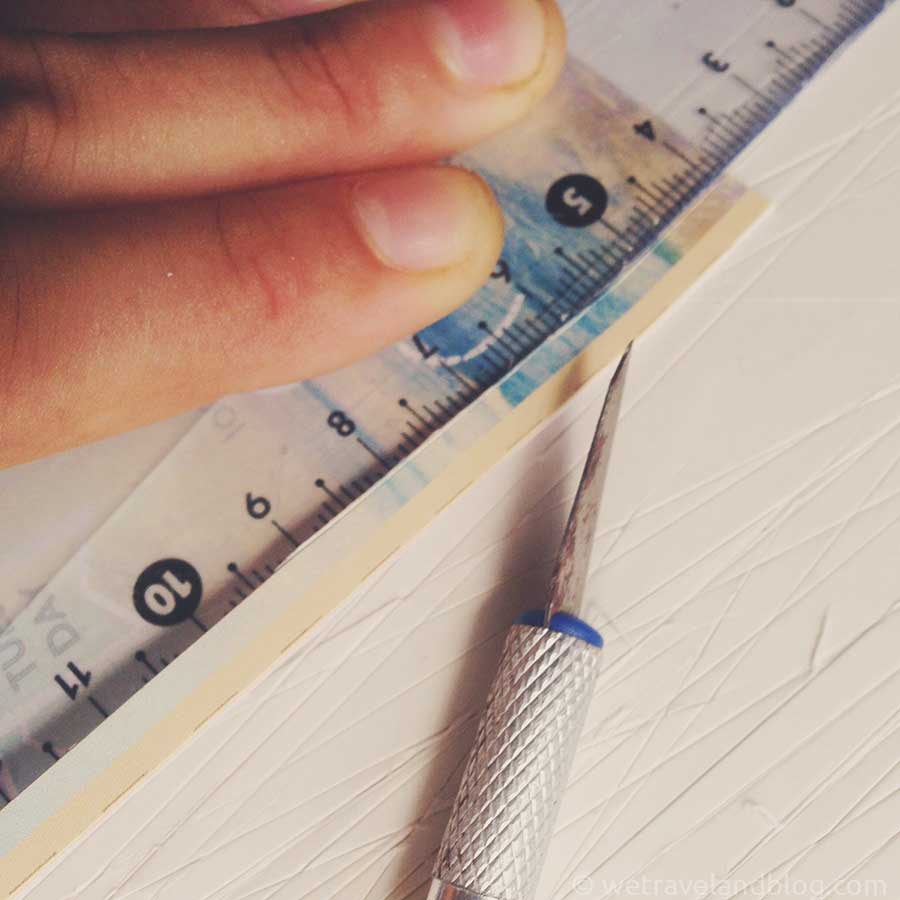
If for some reason you also need to use an X-acto kinfe, keep excess sheets of card-stock under your work, and give slow but confident and deep cuts along your ruler, keeping your ruler fingers down tight on either end of the line you need to cut so it doesn’t budge.
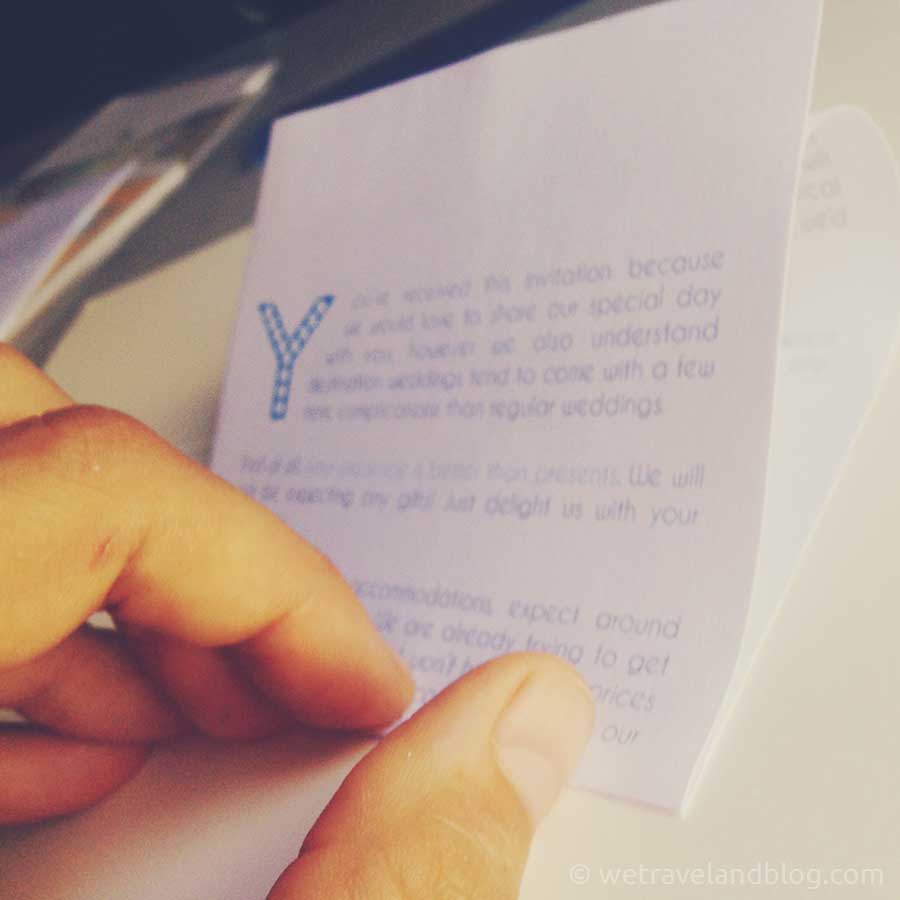
Letter Inserts-
One sheet of 8 1/2 x 11 can be used to print two side-by-side letters which will fit nicely in a greeting card envelope once folded in thirds.
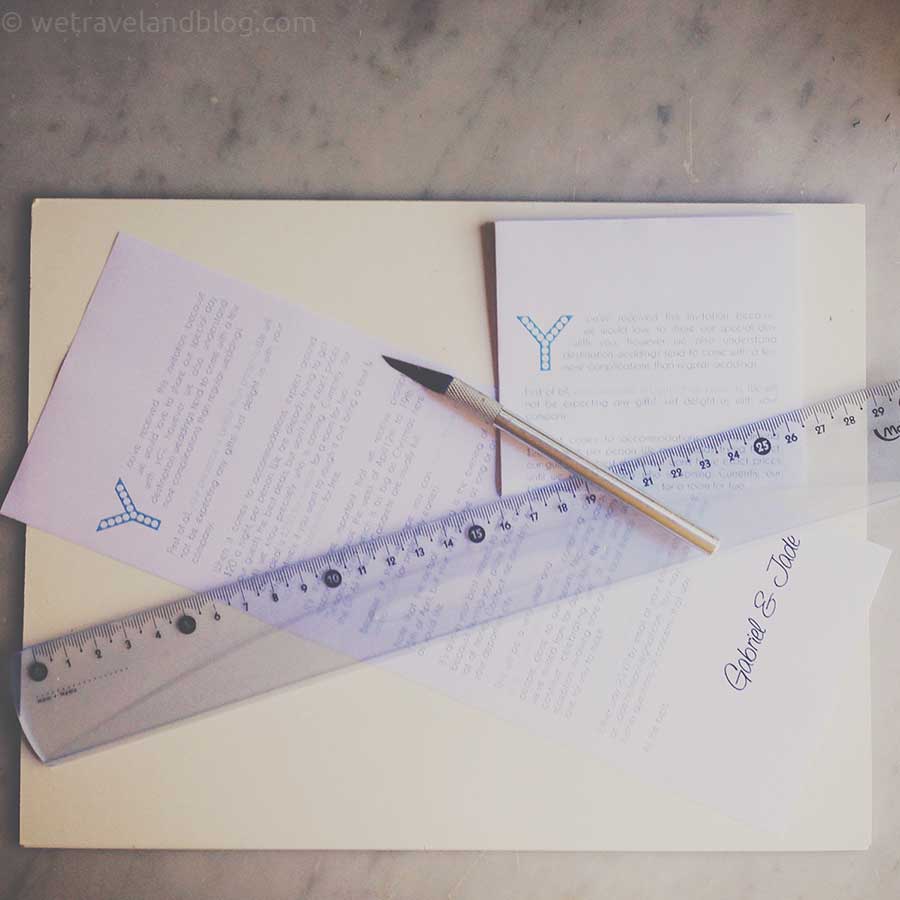
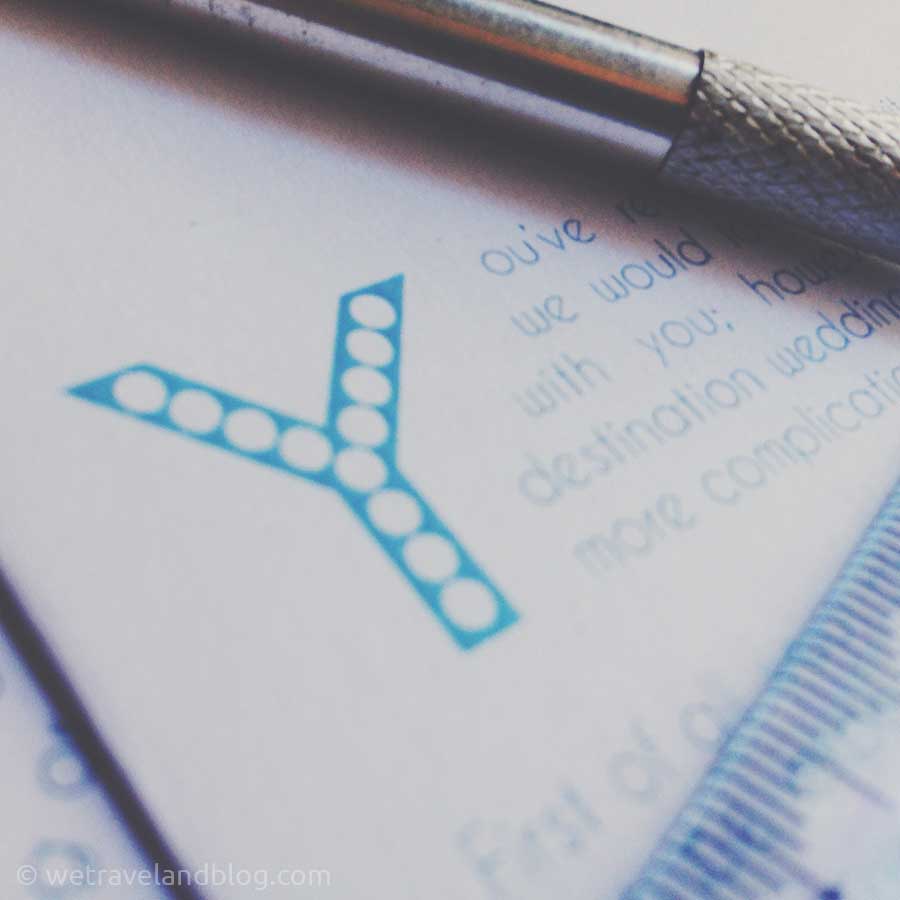
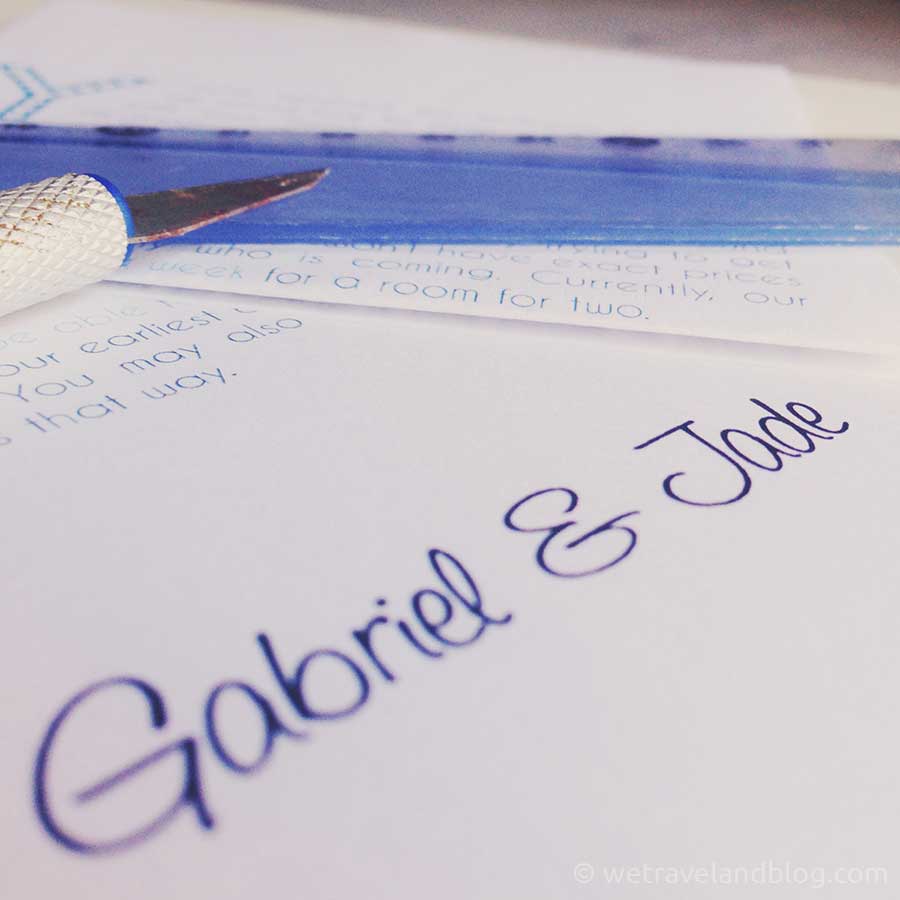
When you design your inserts, try to add nice embellishments, such as drop caps, that match the invitation cards you created.
Also, remember you’re inviting loved ones, so make it warm and personal, for example by adding nice signatures at the bottom. We hand wrote the “Dear [guest]” at the top of each letter and then both signed nicely at the bottom as well.
It’s come to my attention that a lot of people don’t actually know how to properly fold a letter in thirds, so here’s a crash course:
- Start by folding a mock sheet of paper in thirds as shown in the video below:
(except do it right, unlike in the video, so it’s EXACTLY in thirds)
- Once you have your guide, place it next to your letter and use the lines of text to guide exactly where to make your first fold.
- Fold the letter along the determined line of text so the edges are perfectly straight
- Flip your letter in an S and align the edge you just folded to the bottom edge of the envelope.
- Use the back of your CLEAN nail, a CLEAN plastic ruler, or a CLEAN bone folder to make your folds extra sharp.
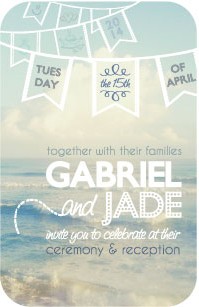
 Voila! There you have it. All components of my wedding invites:
- Surf-inspired lined envelopes.
- Invitation and RSVP cards
- Letter insert
 We sealed the envelopes with a fingerprint heart, which I forgot to take a picture of, but looked sort of like this idea.
I addressed them, then mailed them, but back to being in the Dominican Republic, where the mailing system is close to non-existent, turns out only about half of them made it to their destinations. :(
Good thing they were just for show I guess!!
Have you made wedding invitations? do you plan to? did these instructions help or inspire you?
If you’re confused about anything let me know so I can clarify!
Thanks for tuning in. :)