
I was in love with this dress I’d seen on Pinterest
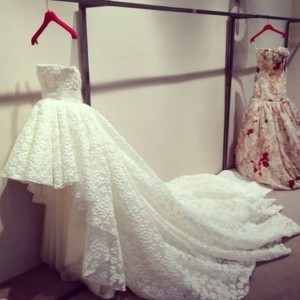 It was absolutely gorgeous, but ridiculously expensive.
This is the Danger with Pinterest.
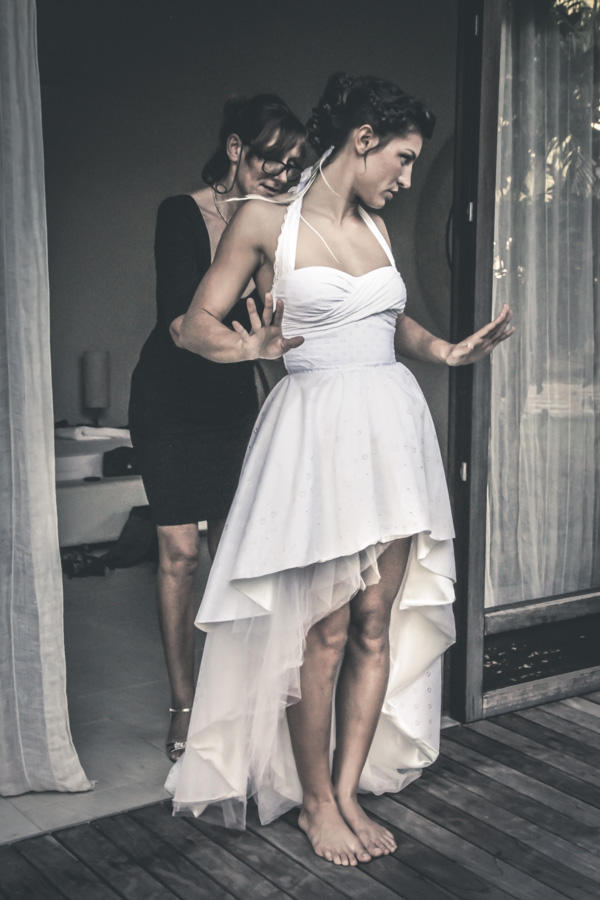
The look was right. It was elegant, but playful. The way I saw it in my head however, was a little less extravagant, and a little shorter in the front too. ;)
There was no way I was paying anywhere close to two grand for a wedding dress.
No way.
$200 sounded good enough to me.
I thought the skirt I could pull off doing on my own, but the bodice I didn’t feel quite confident in my sewing skills. Besides, I wanted to get married in a bathing suit.
So I decided to go for it go for a DIY wedding dress.
So I started looking for a bathing suit.
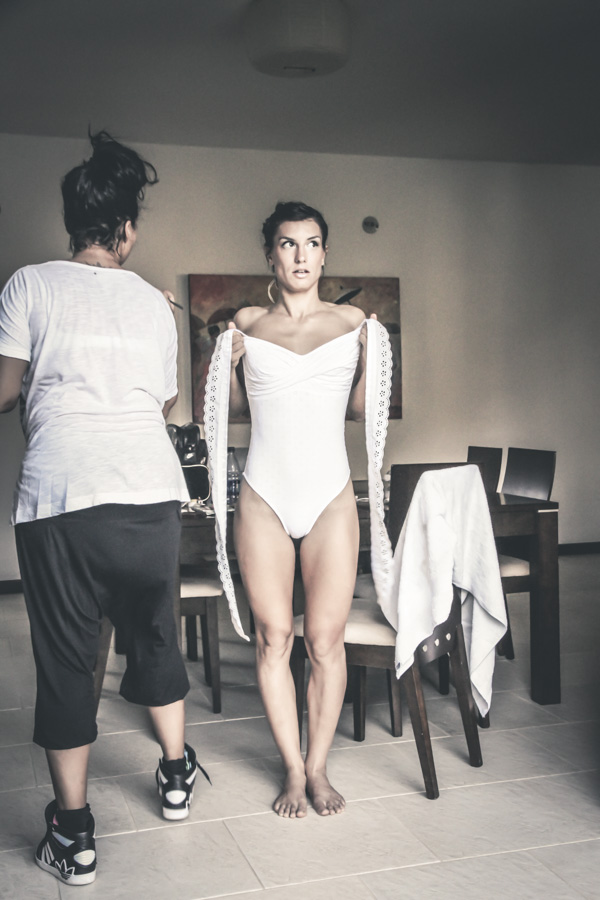 The logic was I would wear a beautiful white one piece bathing suit that I would purchase already made, and add the skirt I’d sew right on top of that.
The second danger with Pinterest: how much time you can spend on there without realizing the hours that go by.
I came up with a whole board of beautiful one-piece suits and finally found the perfect one for under $100USD.
It was made of a fabric with little eyelets that would match the curtain I had in mind for the fabric. That’s right, I said it.
It’s really hard to find good lace these days, especially in the Dominican Republic. But curtains are always made out of really nice fabric.
This one had cute eyelets. I was down with that.
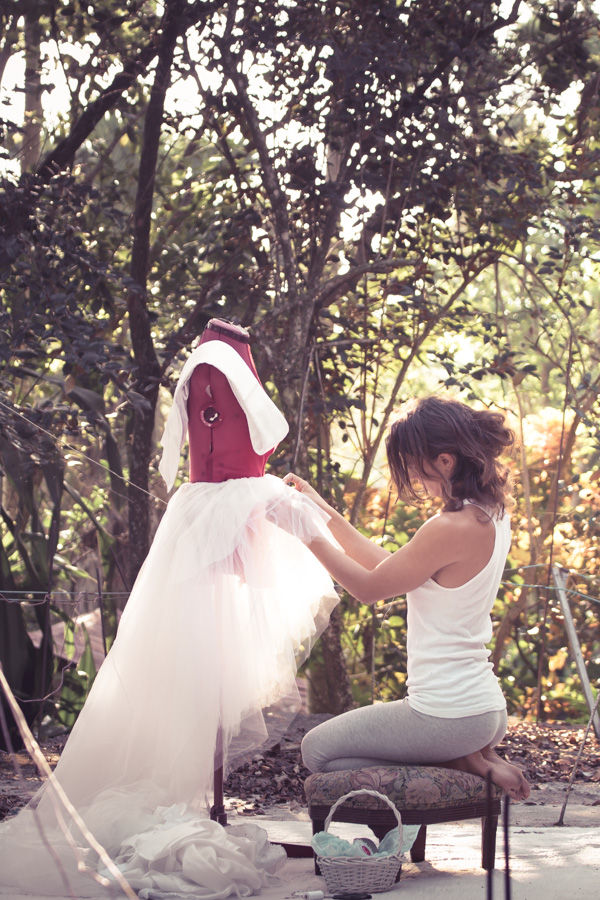
Then, I set out to make the skirt.
 It was really easy actually. Basically it’s a circle skirt.
For those of you who don’t know the first thing about sewing, you probably know them as poodle skirts, from the days of diners and grease.
Circle skirts are pretty much the easiest thing you can make. If you make it out of felt [ or some other non-fraying fabric ] you don’t even have to sew at all really.
So this looked to me just like a circle skirt, except modified so the front was shorter and the back longer.
This is how I created the “pattern”
- I measured the circumference of my waist.
- I measured the distance from my waist to where I wanted the skirt to end in the front (about mid-thigh)
- I measured the distance from my waist to where I wanted the skirt to end on the sides (about to my knee)
- I measured the distance from my waist to where I wanted the train to end. (it was a pretty rough approximate)
Actually, to be honest, I was limited by the length of my fabric on the last measurement, so I just went with that.
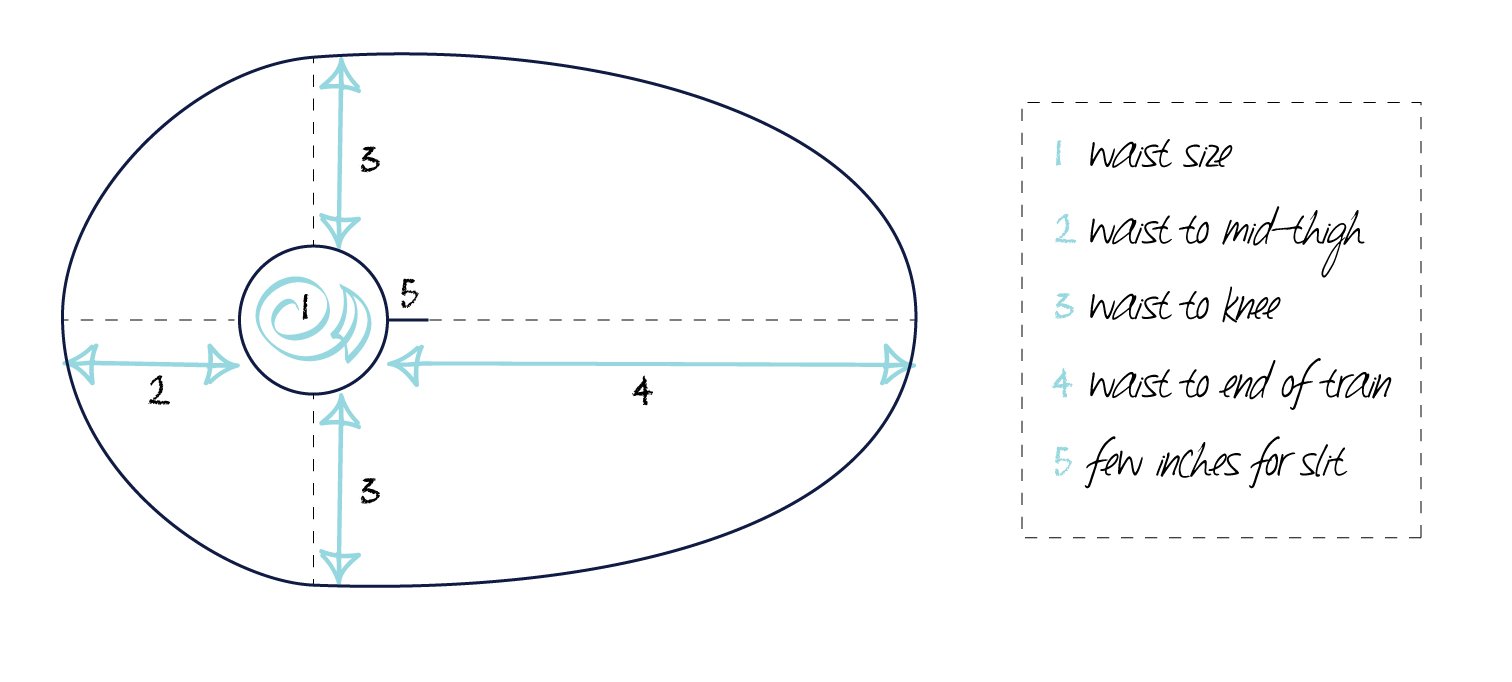 Once I had those measurements I did some quick math to figure out the radius of the circle in the middle (which is where the waist goes) and I plotted it on my fabric. Roughing the arcs between the 4 points.
If you’re a bit confused about this part, this circle skirt tutorial will spell it out for you in great detail.
How I put the whole thing together
I wanted the skirt lined with a satin fabric, so the skirt had two layers: The lace, and the satin.
The satin didn’t have holes in it and was replaceable if I messed up, so I used fabric chalk to plot out the pattern on that fabric.
Basically what you want to do is:
- Draw the waist circle
- plot the four length points
- connect the points with rough arcs
- fold the fabric in half and pin your marks, adjusting so both sides are equal
- cut the fabric
- place the satin oval on top of the lace [outsides or 'good' sides facing each other]
- pin the two together [ including the waist circle which you haven't cut yet ]
- cut the lace equal to the satin
- sew the two with a straight stitch
- sew the two with a zig-zag [ or serge ] to prevent fraying
- cut the waist circle out
- turn the fabrics inside out and iron the stitch you just created.
- cut a slot in the back [ 5 on the diagram ] so you can slip the skirt on
- pin then stitch the waist line to hold both fabrics together in place
- finish the edges as you want
I choose ease over everything, so I finished my waist by adding a small elastic band around it, which would tie in the back, then folding a ribbon in half over the whole seam, neatly hiding the whole mess, including the “zipper” slot, which I left ‘open’ but neat.
There was going to be a great big bow over it anyway.
I added the finishing touches
I didn’t like that the suit had no straps, so I made a halter strap out of some other upcycled fabric and lined the insides with more satin.
Then I made a sash to go around my waist
Then took the same pattern and cut out layers and layers of tule for the underskirt.
Finally I found some cheap but very nice shoes and made them even nicer.
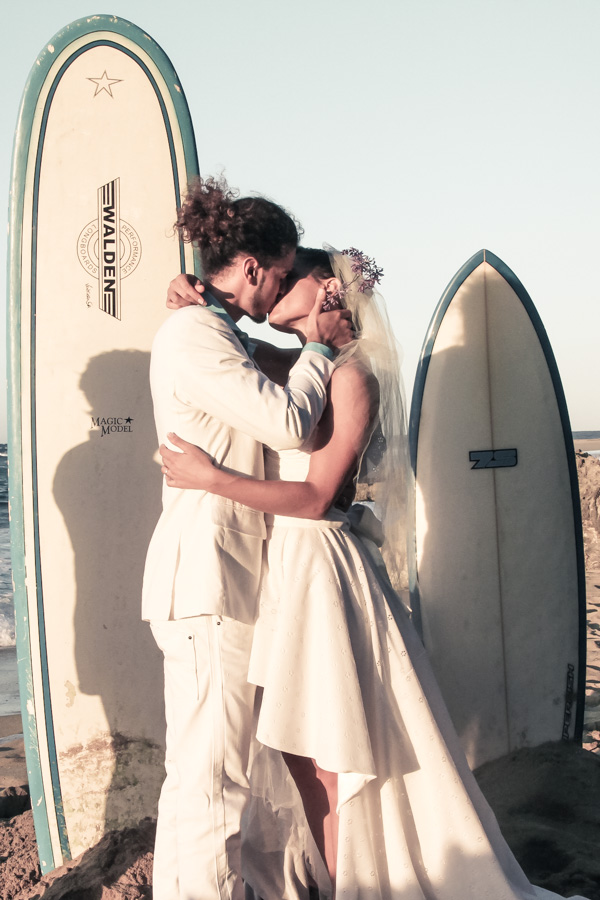
Voila!!!
Ok Ok, It was a little harder than that.
I did all this with a lot of care and sewed most of it by hand to make sure it looked extra nice.
I washed it multiple times to make sure I wasn’t ironing in any stains.
I ironed every seam I made, and ironed the ribbon in half before stitching it… you know, all those details.
It was well worth it, and I think it turned out quite nice.